Wishing Star Observatory
All amateur astronomers wish for the convenience and versatility that only an
observatory will provide. After years of planning and spousal negotiation
the Wishing Star Observatory has become a reality. I'll present
development in timetable format:
2002 through Fall 2005 - Various locations have been studied, chosen and then
later rejected for one reason or another. By integrating the observatory
with a raised deck, the spouse finally gave me the go-ahead for an ideal site
pretty much in the middle of the back yard.
September 2005 - After considerable lobbying with local utilities and
government the three nearest streetlights have been changed from Cobra Head to
full cut-off fixtures. What a difference! My yard is now fully
shielded.
April 2006 - Given the proximity of neighbors, a dome is the only way I'm
going to be able to protect my night vision. And here in Barrington Rhode
Island a full shelter will be most welcome in mid-winter. I'd originally
planned on buying a Sirius 11½-foot dome. Their design and quality are
superior. But the Sirius price almost doubled over the course of my
prolonged planning and had become prohibitively expensive. The 10-foot
diameter Technical Innovations Home Dome was only half the cost of the Sirius,
and given my 14" Meade LX200GPS, I figured that 10-foot would be just about
the right size to also fit small astronomy classes. But as the spring of
2006 came along my observatory funds had been depleted and the Home Dome was
also now out of reach. I proceeded with various deck/observatory layouts,
planning on constructing my own dome.
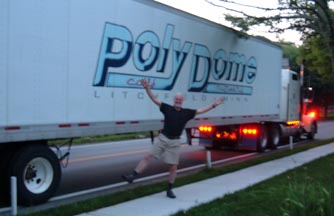
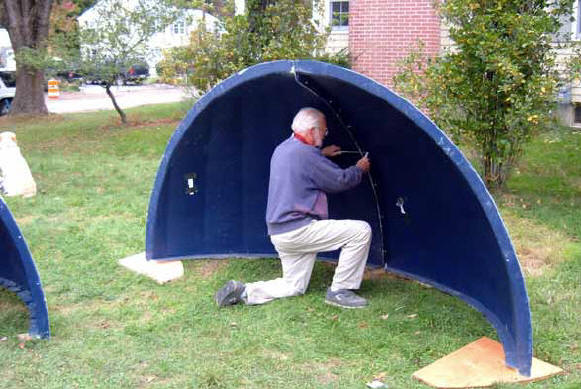
And then along came PolyDome, with their anouncement that they'd be
manufacturing an 8-foot polyethelyne dome (the Explora-Dome) for the
introductory price of an astonishing $395! I got my order in so fast that
the Internet sizzled.
Replaced worn and cracked 50-year old door that will lead out to the new
deck. And then installed a new screen door that locked so that we could
have ventilation during the summer but wouldn't forget and go walking through
the door and sailing out into space.
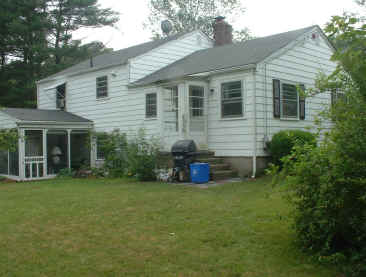
Here's what we started with.
After having repeatedly consulting with some architect friends the design
solidified. And here's the result of 6 months of planning: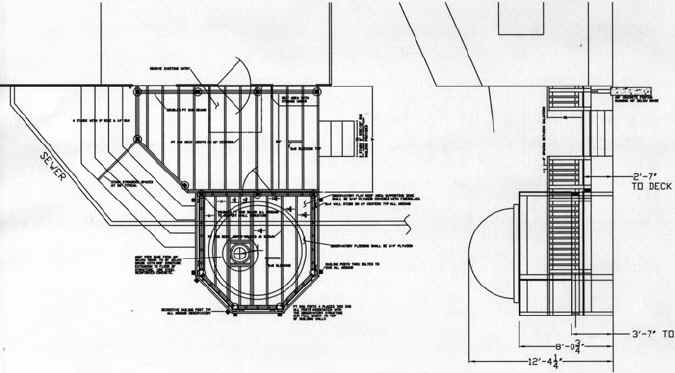
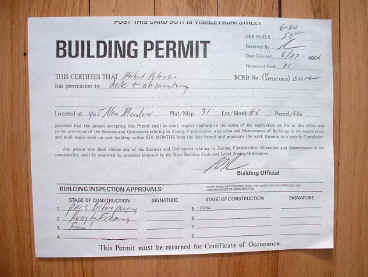
The Building Inspector scratched his head over this one, but the permit was
eventually issued.
Rear porch demolished.
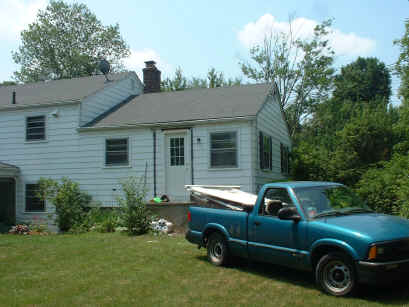
Rear landing demolished.
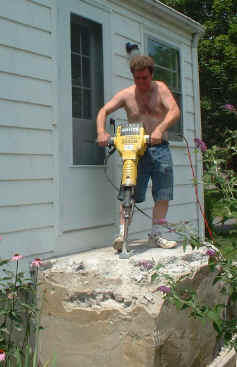
I lasted about 1/2 hour before my son took over for the rest of the day.
The first truckload of Explora-Domes pulled up, oh happy day!
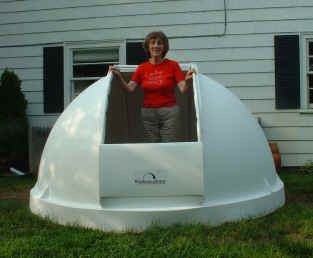
Carrie tried it out for size.....
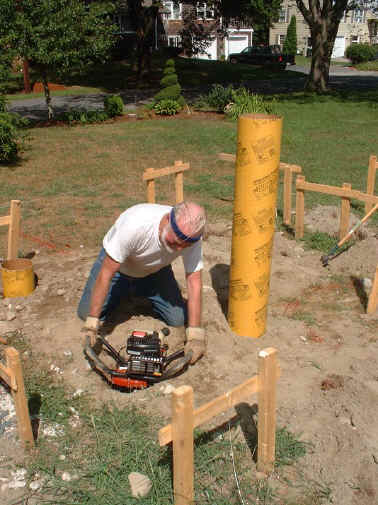
I'd been cautioned that the foundation layout is critical. So I laid
out batter boards galore.
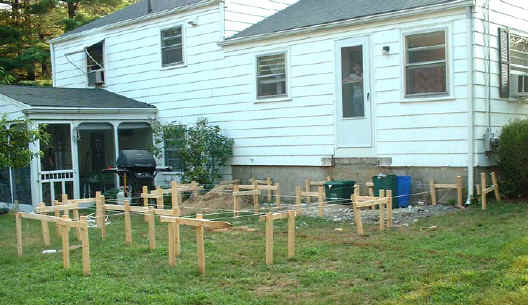
Because of the irregular shape of the deck and observatory 13 footings were
required. And Code required that they be dug at least 42" deep!
The rental post hole auger was a godsend, but after a day of digging the
footings I'd been knocked on my can multiple times and felt like I'd been 10
rounds with a gorilla.
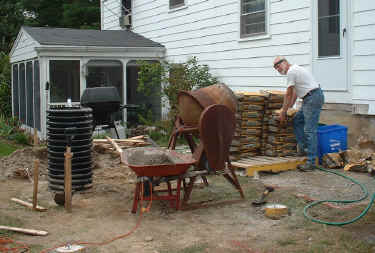
This is a circa 1950 Sears mixer I borrowed from a neighbor - for more than a
month of pouring.
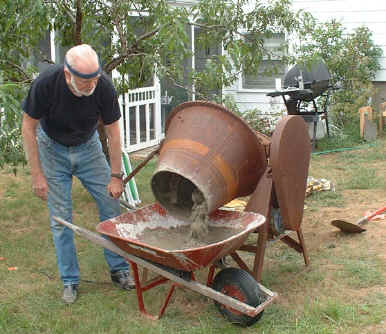
I lost count of the number of bags of ready-mix used.
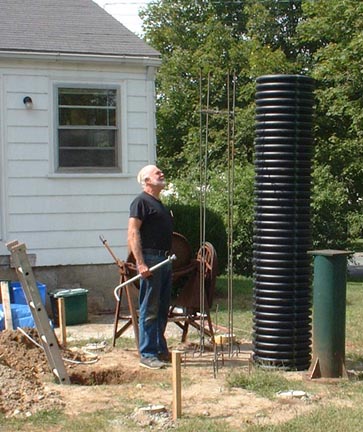
Now it's time to work on the pier foundation. It's 6' deep and on
bedrock.
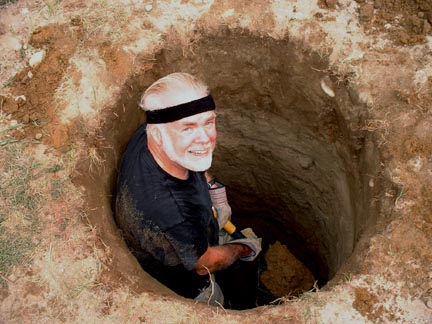
The 18" culvert pipe goes into the hole. The welded up reinforcing
bar goes into the culvert pipe. The steel pier will go on top of the
concrete base.
Many many bags of ready-mix later................
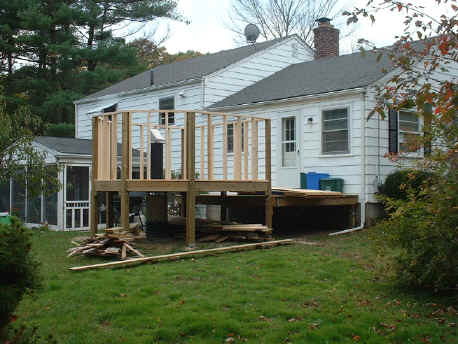
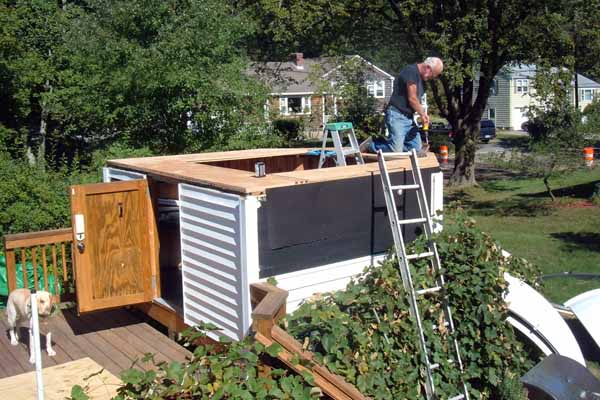
The whole summer was devoted to digging and pouring. Now the structure goes
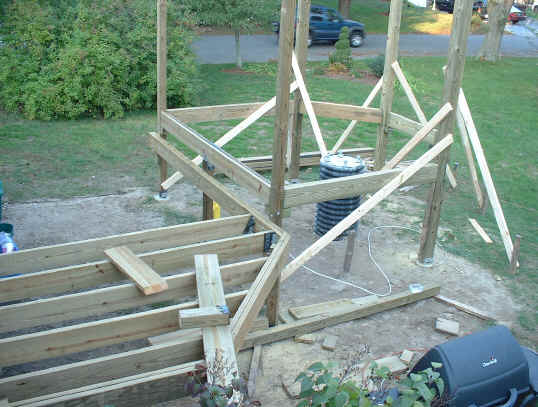
up relatively quickly. Below is status on the AM of 10/03/06:
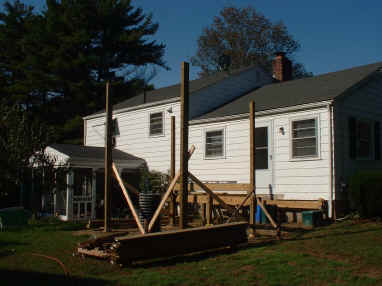
Here's PM of 10/03/06
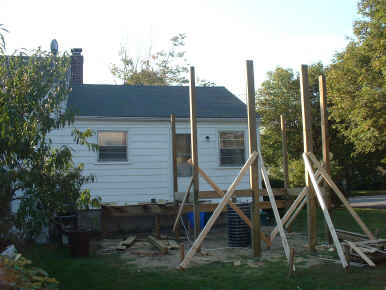
Things were slow in the office on 10/04 so I took the afternoon off to do a
bit more work. The deck leading out to the observatory already has a
half-dozen joists in place. And the beams around the observatory structure
are now in place and ready for floor joists as well.
And here's where we're at after the Columbus day weekend. "Framing
is complete except for some blocking still to be done on the main deck.
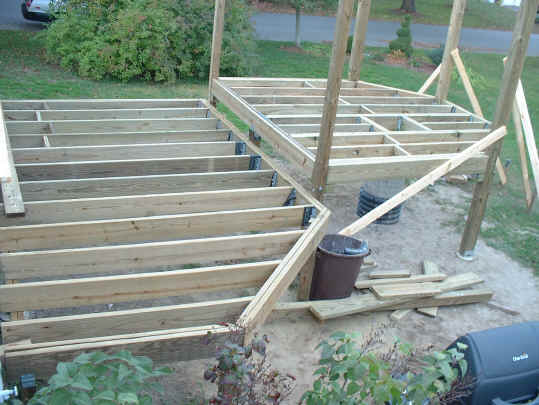
Tomorrow the Building Inspector will be here, and then comes stairs to the
deck, the decking, and the observatory floor & structure frame.
I passed the inspection and things are moving quickly now.
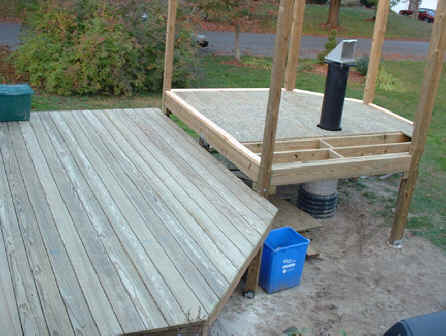
19 Oct 06 The decking is down and most of the floor is down. The
400# top pier section is installed and aligned, and Dave helped me mount the
14" this evening so that I could confirm correct observatory wall height
while still being able to view at my lowest horizon. Once the floor is
finished the walls are next.
22 Oct 06
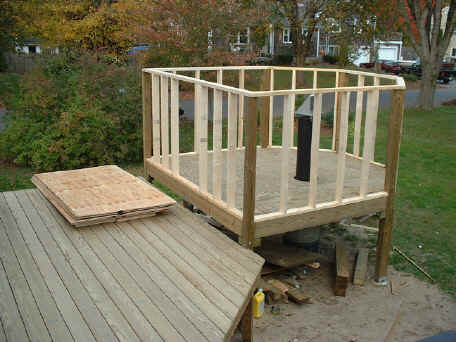
That's the walls sitting on the deck.
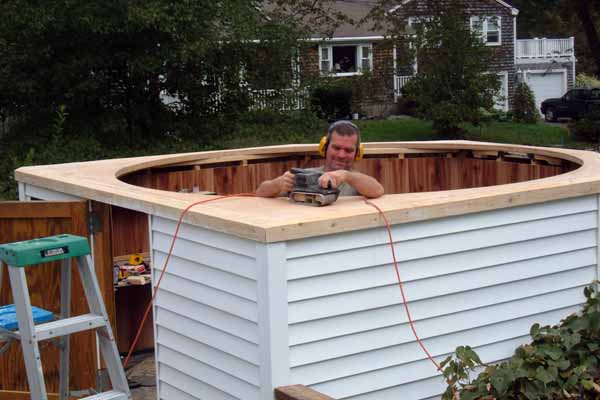
Walls are half done on afternoon of 10-25-06
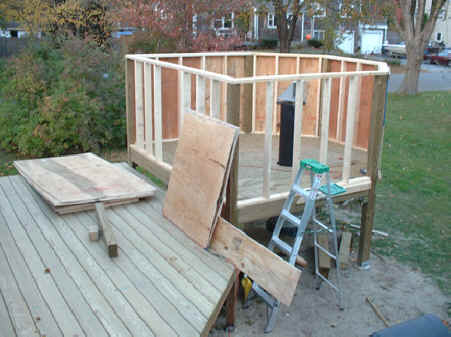
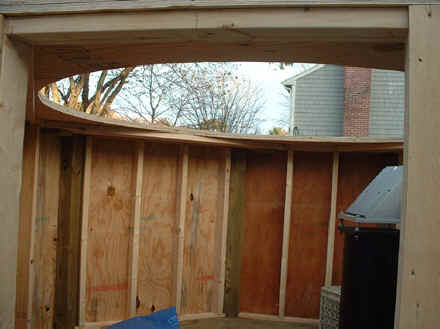
By evening of 10/27 the walls are complete, the 2X8 roof support beams are in
place, and the first 2 sections of 3/4" plywood roof are in place.
(The center beam was there just to swing the cutout radius. Rain's
forecast so the timber was placed on the beam to provide runoff for the tarp
that will be used to cover the structure.
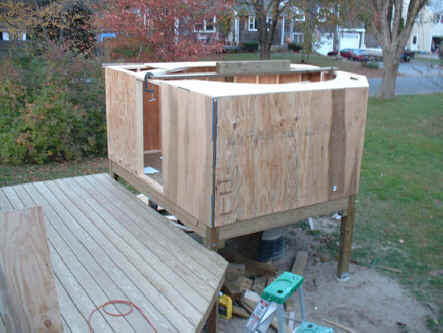
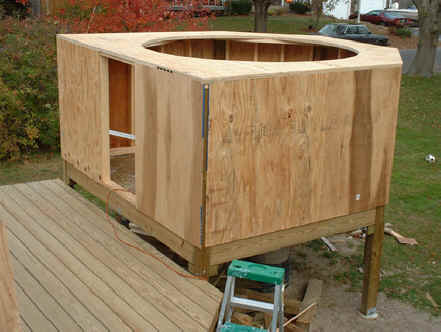
Halloween, and now the double 3/4" plywood roof's on.
Here's an interior view thru the door.
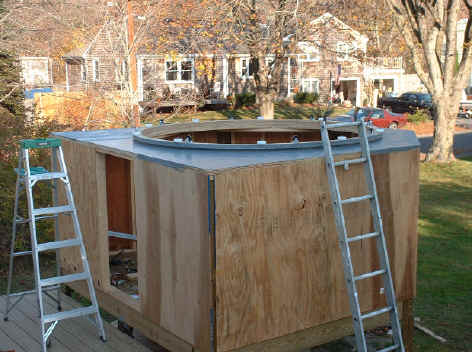
Here's the structure on 11-11-06 with the dome ring fabricated & mounted,
the dome rollers installed, and the first coat of rubber roof painted on.
Unfortunately the roof didn't cure before the rain came, and most of the
water soluble roof coating washed off. We had a cold and rainy week where
little work could be done, since the roof is the "critical path"
element in the work schedule.
The weekend of 18-19 Nov was dry. Thank goodness. There's a new
coat of gray rubber on the roof, topped by a coat of white rubber. It
needs another coat or two, but the forecast is workable for the earlier part of
the coming week.
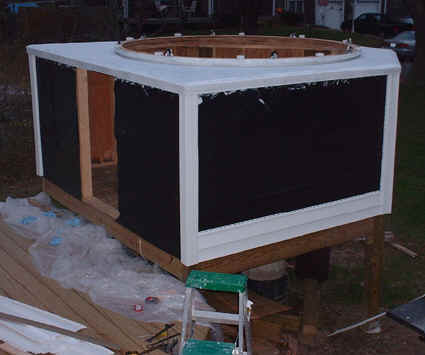
As you can see tar paper has been added, drip edges have been installed, and
I've made a start at the vinyl siding. I hope to be ready for the dome by the
22nd.
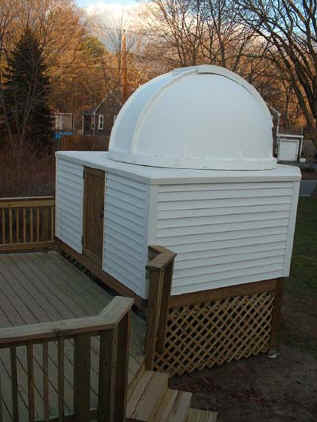
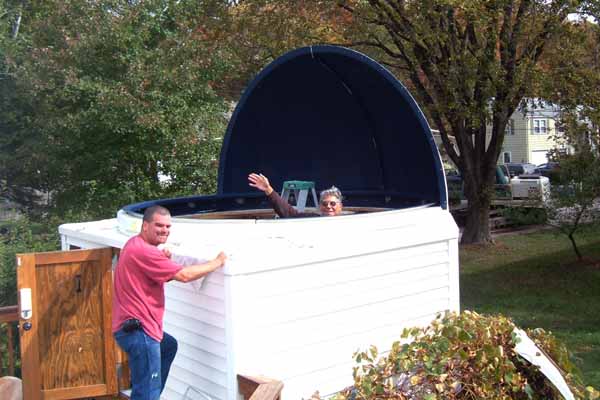
The observatory was "domed" the night of Nov 27th. Before the
first snow. There's still a huge amount of work to do, including
fabricating a door, adding stairs and railings to both sides of the deck and
latticework around the bottom of the whole structure. The lattice work
must be removable as I'm planning on using the underside for storage.
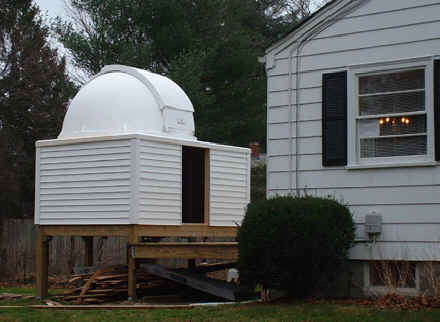
This structure really looks strange and it's becoming quickly apparent it
needs the aesthetic touches that my architect fiend recommended early on.
This will include running a false railing around the structure to provide
horizontal lines to make it appear less vertical. Right now it's like a
tower!
And bushes around the bottom will probably help too - although its too late
to plant this year.
The Barrington Times (our weekly local paper) has been pushing to do a story
on this. For the story that went to press the day before the dome went on
and came out the day after it went on click the pix:

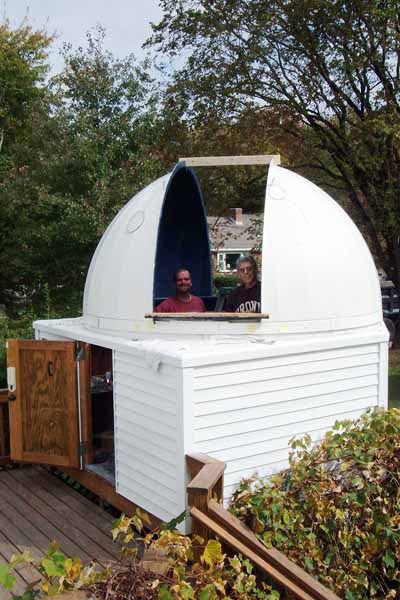
Here's the status as of Dec 12th. Front stairs finished. Front
railing finished. Skirt partially complete. It's starting to look
real.
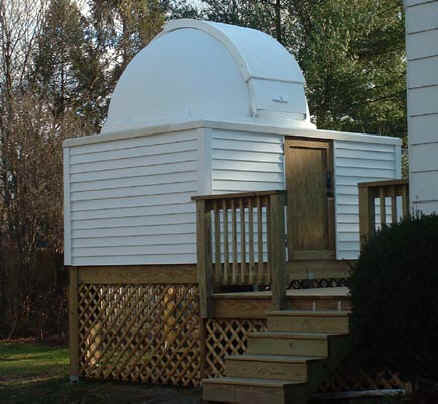
But it looks better with a door (taken 24 Dec 06)
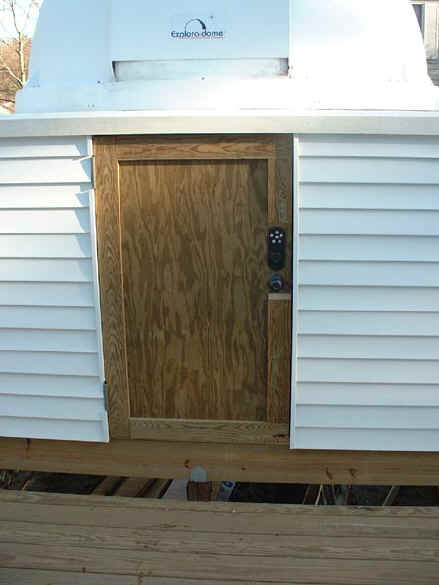
Door detail.
January 9, 2007. The structure is finally complete - except for
plantings which will have to wait until spring.
The 14" is already mounted and the pier polar aligned.

And finally railings are installed on the stairways to provide full compliance
with local codes. The observatory was blessed by the Building Inspector on
19 Jan 07.
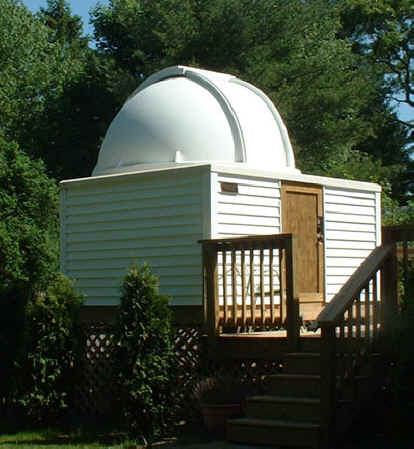
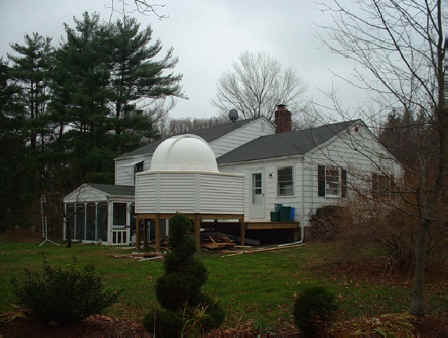
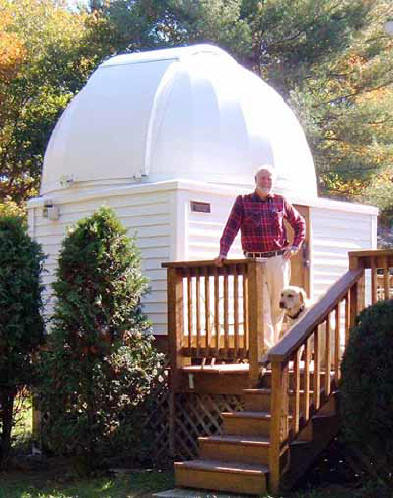
May '07 - Foundation plantings make a big difference. The observatory
looks very much like it belongs in the neighborhood now.

Close-up of plaque.
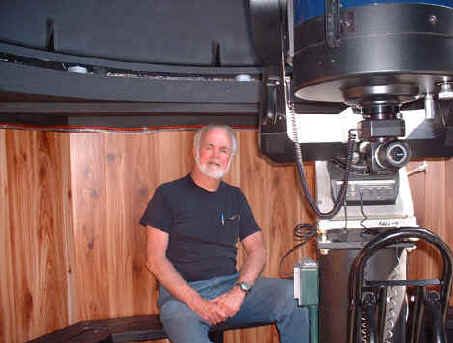
July 1, 2007 - the interior is complete.
And on the four hundred and twenty seventh day, he rested.
Pete Peterson
Wishing Star Observatory was written up in the Nov 2007
issue of Astronomy Technology Today magazine. The
article may be found at
Construction
2013 Dome ReplacementMy flat roof had been sealed with white
rubber paint, and over the years a few cracks allowed water to damage
parts of the structure. Since roof repair was going to require some
serious effort anyway an upgrade opportunity presented itself.
This was the condition of Kenny Conca's old Technical Innovations 10'
dome before Dave and I purchased/disassembled it in August 2013.
This was the alternative dome that, when new, was out of my budget range
back when Wishing Star was being built!
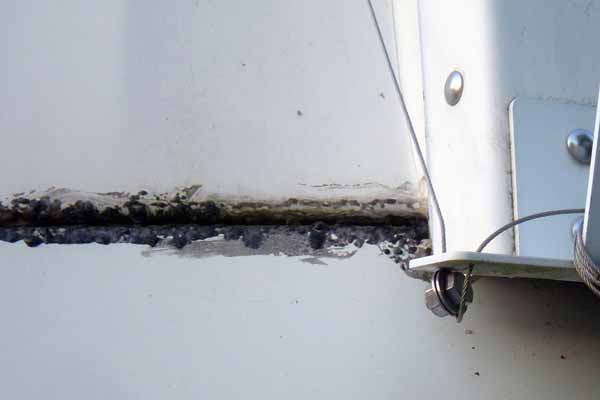
Note how the epoxy seams had turned black and rock-hard and ugly:
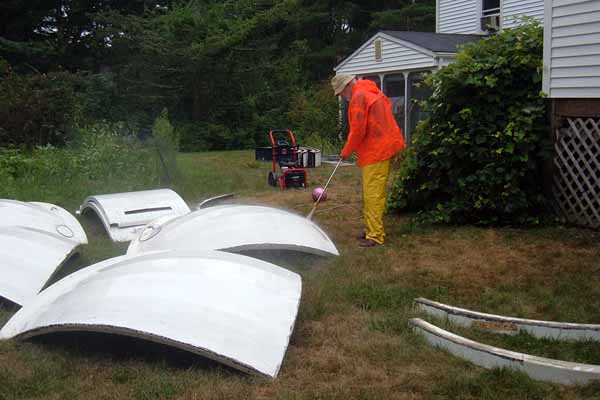
After disassembly and trucking it back to Barrington, the first step was
a much needed power wash.
In an effort to reduce the neighborhood "footprint" and maintain my
horizon over the dome shutter sill, it was necessary to reduce the 14"
height of the base, shown here in its original installation.
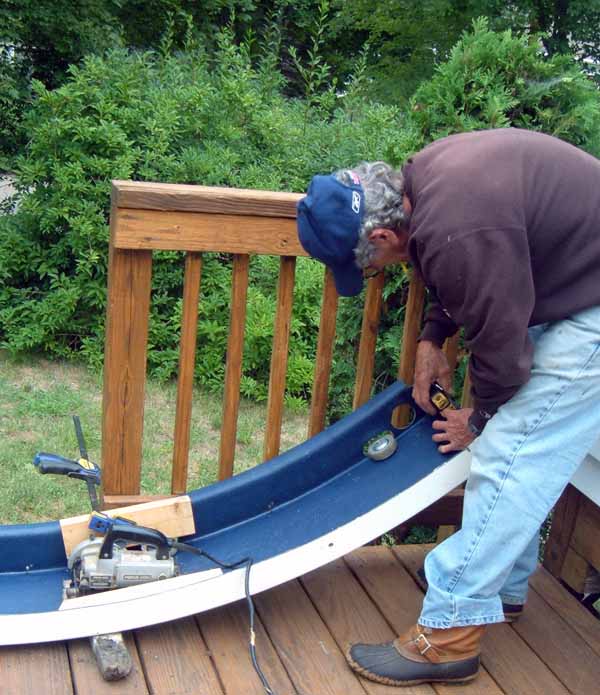
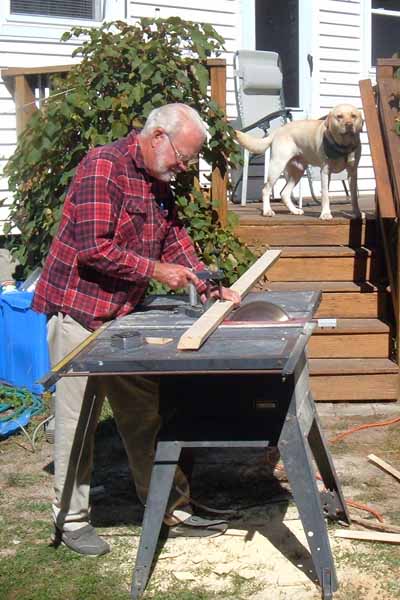
Rich S came by to lend a hand, and this was our initial attempt at
cutting down the base. Turns out that fiberglass can really eat up steel
saw blades.
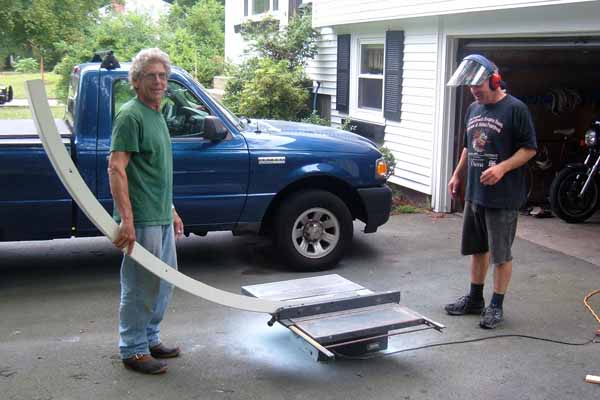
Take two. This time with an abrasive blade on the table saw. Cut thru
the glass smooth as butter.
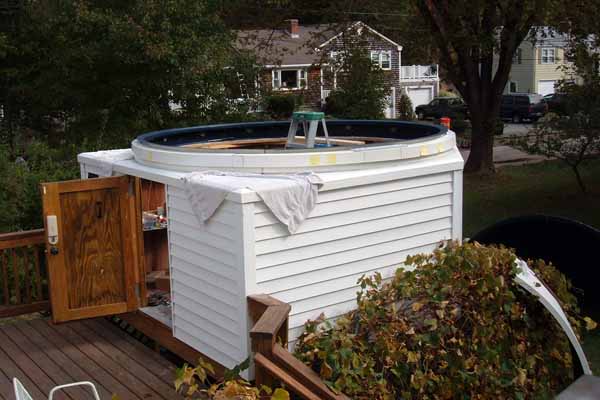
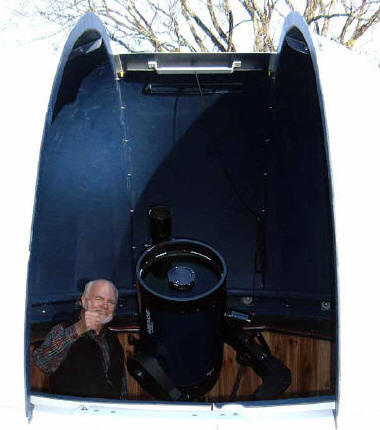
Off with the old 8" Exploradome that has served me so well for the past
7 years. The original base ring is still sound

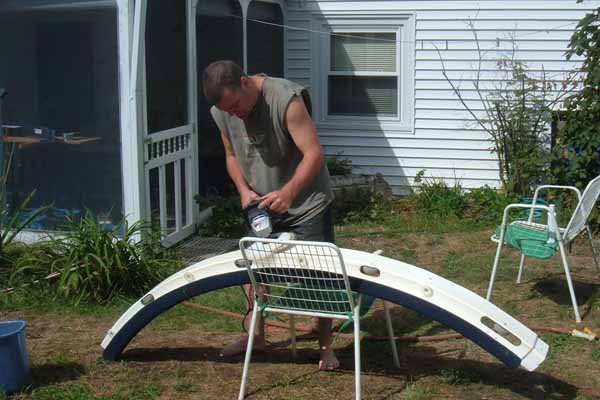
After about 60 hours of chipping the ugly off and retouching chisel
damage with new gel coat, Dave’s compounding the gel coat to restore the
finish.
Work in progress. Wall sections replaced and old roof removed. New roof
going on.
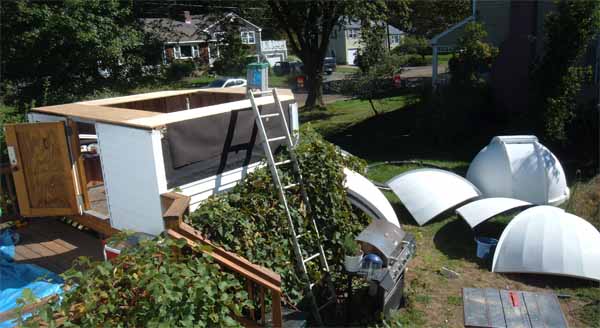
New roof going on, as of Friday, 9/20/13
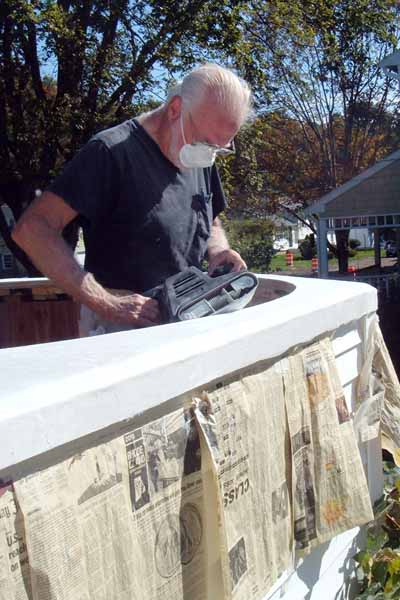
Tuesday, Oct 8th - a final layer of gel-coat applied to the roof.
It's been 2 months now since acquisition of Kenny's old dome and the
work has been very time consuming. The failure of the first roof was at
the joint between the plywood and the drip edge. Nothing wrong with the
concept, so new drip edges were cut.
Fairing the roof & drip edges....
Fairing the roof after 2 layers of fiberglass. The glass runs from the
roof down the drip edges so those seams won't open up this time.
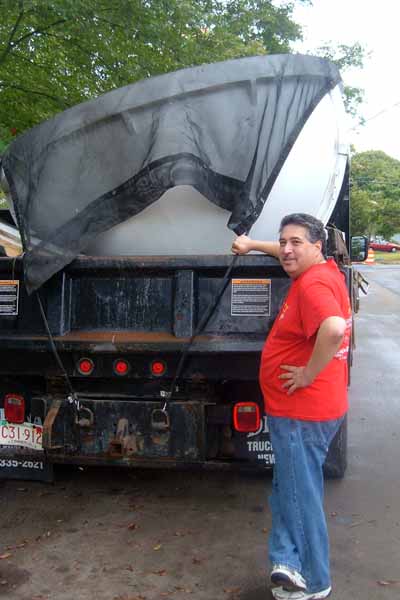
This brings us up to today, Sunday October 6, 2013. Here's Bill's wife
loading the Exploradome to its new home......
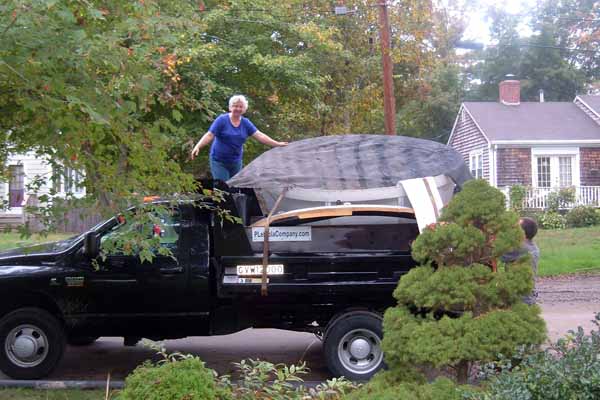
Old owner, new owners.

Does Bill look happy or what? There's nothing like a dome on crisp clear
frigid windy winter nights when the wind would otherwise make observing
intolerable.
September weather was exceptional with every day a working day. Many
many hours of work, as anticipated. But the new roof's about ready for
installation of the dome base.
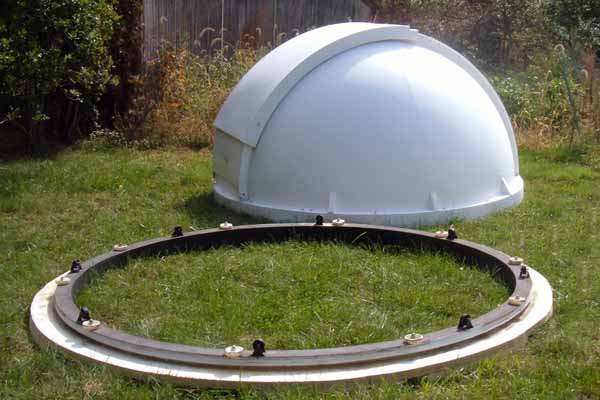
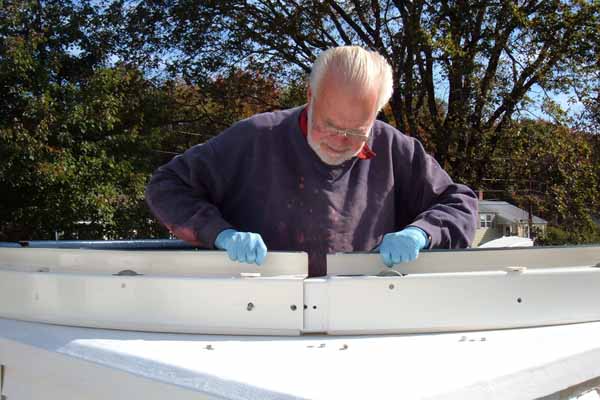
Wednesday, Oct 9th - the roof's completed and the base ring's being
assembled, glued & lag bolted in place.
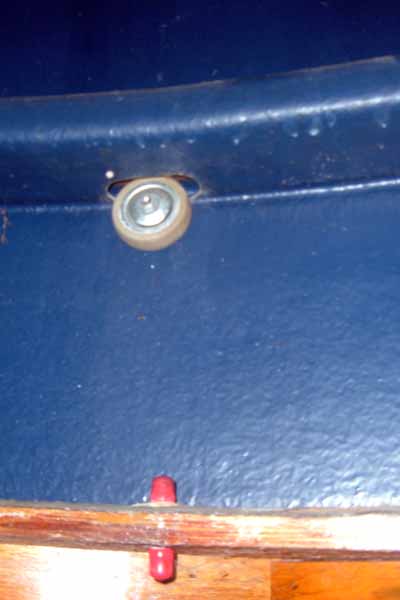
Before disassembly it was noted that the roller system wheels were a bit
low and the dome scraped on the centering rollers making it difficult to
turn. And some centering rollers were jammed. The centering rollers have
been modified to remain free and the main support rollers have been
replaced with slightly larger conveyor roller wheels that I've modified
to fit. It was a late night modifying rollers but I think the dome will
rotate dependably.
Thursday, Oct 10th - The dome support ring's been assembled over the
base ring. Lookin' good.
Now Dave & I focus on compounding and waxing the last unfinished parts.
Friday, Oct 11 - Dave's been working for weeks refinishing the dome. Now
it's time to assemble the dome quadrants.
It's going quickly now. Rich came by to lend a hand and the first dome
section's mounted.
The two hemispheres are now up and positioned with spacing timbers to
establish precise shutter spacing.
George arrived with his camera, and he's taken over the photo
documentation. Everything's up with all parts flying in formation. Very
good news - the dome rotates with virtually no effort at all! Much
easier than the smaller previous dome, probably due to the fancy double
bearing support rollers.
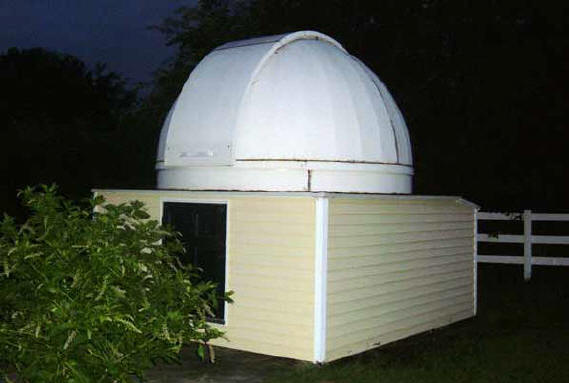
New & improved Wishing Star. The replacement dome works
flawlessly.
November 2013 While there's a whole heck of a lot more
interior elbow room the overall visual impact on the neighborhood isn't
noticeable. The scope and computer reinstalled and checked out.
Back in full operating mode at long last
Return to Observatory home page